
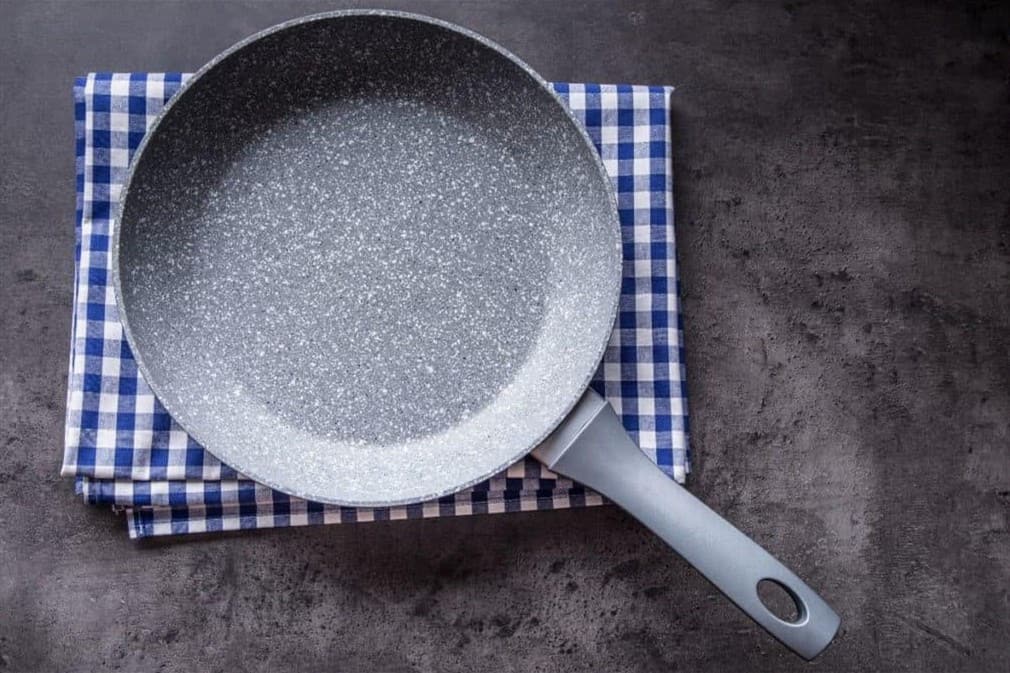
Cooking with ceramic cookware is an amazing experience. But what if it becomes brown or food keeps sticking to it? What if its nonstick function is no longer effective? How important is seasoning ceramic pots and pans?
How should ceramic pots be seasoned if this is the case? In this article, we’ll answer all of those questions and more. We’ll show you how to season your ceramic pots properly so you can get the most out of them.
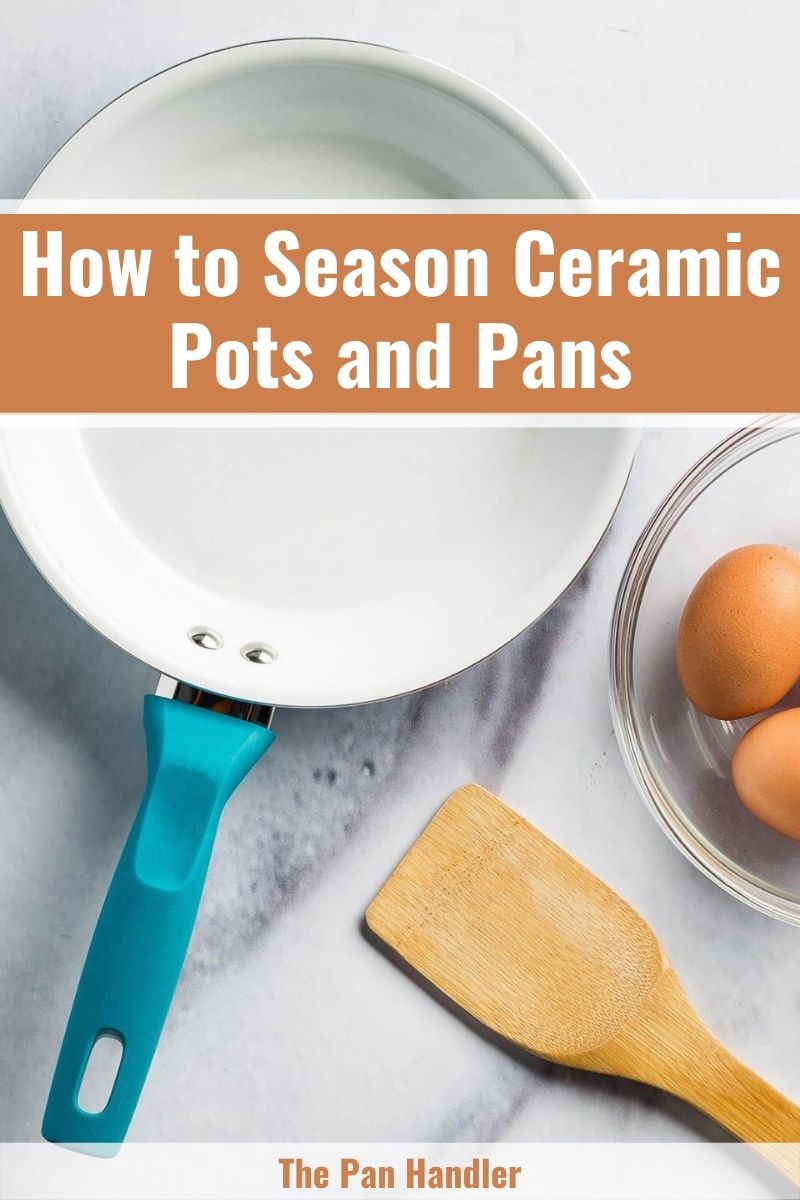
Why it’s a good idea to season ceramic pots and pans
Seasoning your pan will improve the nonstick properties and extend the life of your ceramic pots and pans while also improving your cooking experience. You may save money by just seasoning your nonstick pan instead of buying a new one.
Seasoning cookware can extend the life of the nonstick surface, regardless of how old or fresh it is. If possible, ceramic pots and pans should be pre-seasoned before use. After using them for a few months, you should regularly season them.
Some online experts claim that ceramic frying pans are difficult to season, but it’s actually not. All you’ll need is water, soap, one tablespoon of cooking oil, and your ceramic pots and pans. You can choose grapeseed oil, canola oil, lard, or peanut oil for the oil.
Step by step guide to season ceramic pots and pans
Step 1: Thoroughly rinse and dry your pan
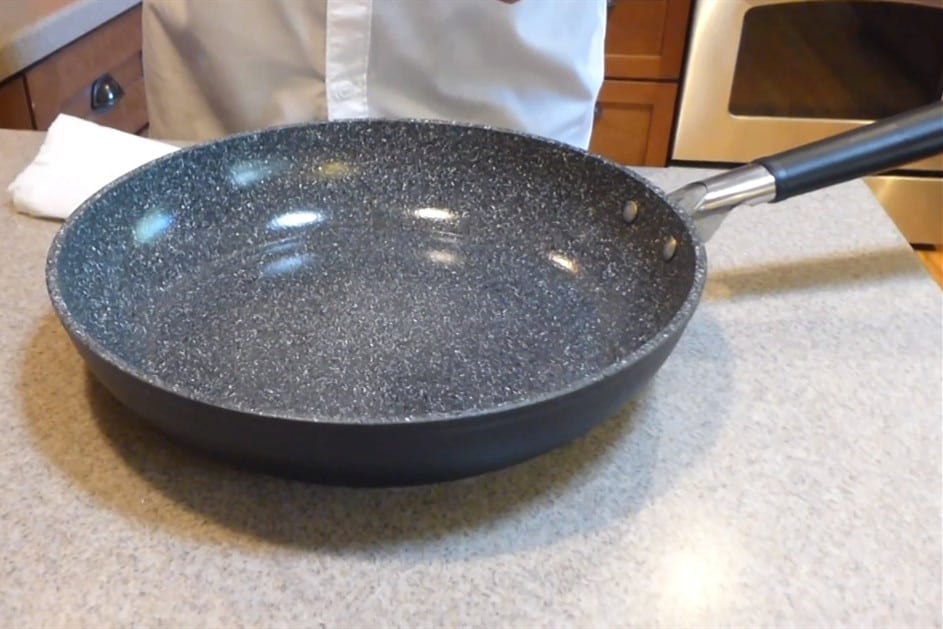
Before you begin, you must thoroughly clean the pan. Scrub the pan’s surface lightly with a soft cloth and dish soap. Avoid using a rough sponge or brush when cleaning the pan because it can scratch it. Wipe clean water from the surface using a soft, dry cloth to ensure it is dry.
Step 2: Coat the pan with a thin layer of oil
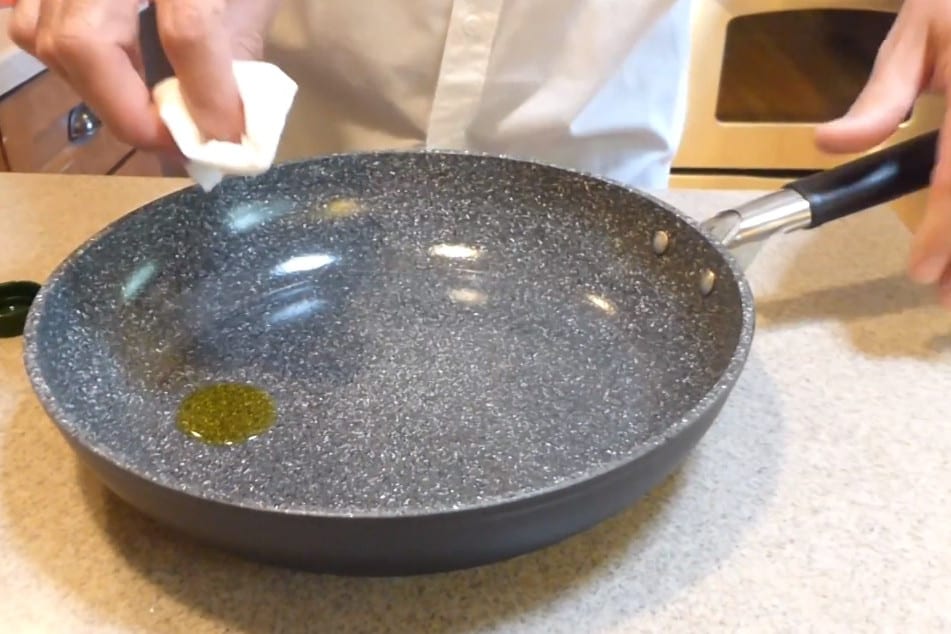
Ceramics can be seasoned using vegetable oil. Distribute one tablespoon of vegetable oil evenly in the pan with a paper towel or your fingertips. Before you begin, coat everything in oil. Keep in mind that the oil you select must be able to burn at high temperatures. Avoid using oils that smoke instantly in your cooking, such as olive oil and butter.
Step 3: Get your pan ready by heating it up
Heating the pan can be done in three ways. You can use the oven, your stovetop, or the direct heat of the sun, whichever is convenient for you.
Heating using the oven
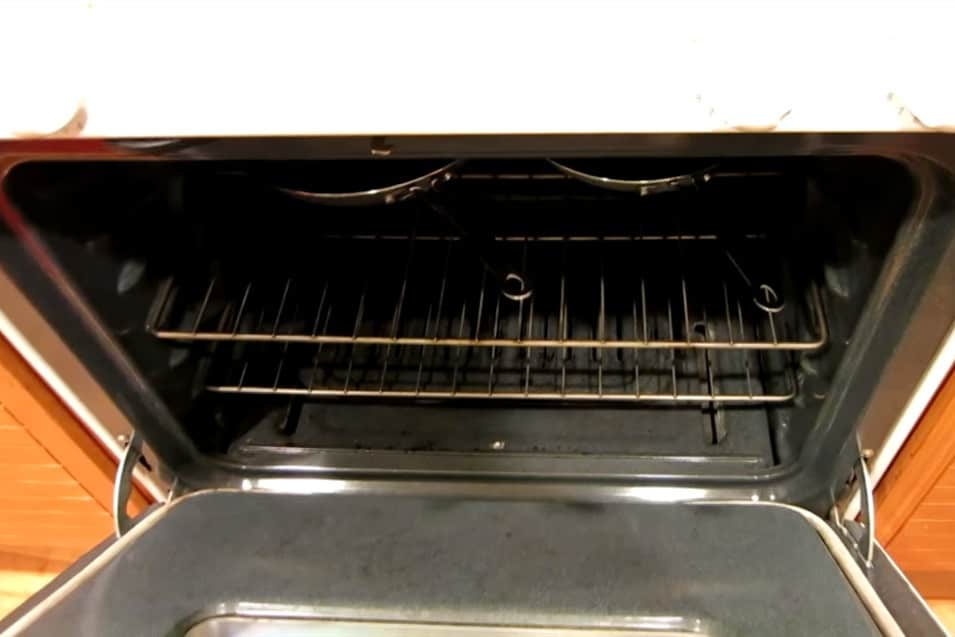
- Preheat the oven to 350°F (180°C). This is the optimal temperature for the seasoning process.
- Place the greased ceramic pot or pan in a preheated oven, preferably on the center rack. Heat the pan for about an hour. However, regardless of how long it’s been in the oven, remove it immediately if smoke begins to come out of the pan.
- After one hour, remove the ceramic pot or pan from the oven. While most ceramic cookware can be used in the oven, it’s always a good idea to double-check with the pan manufacturer for special oven safety instructions.
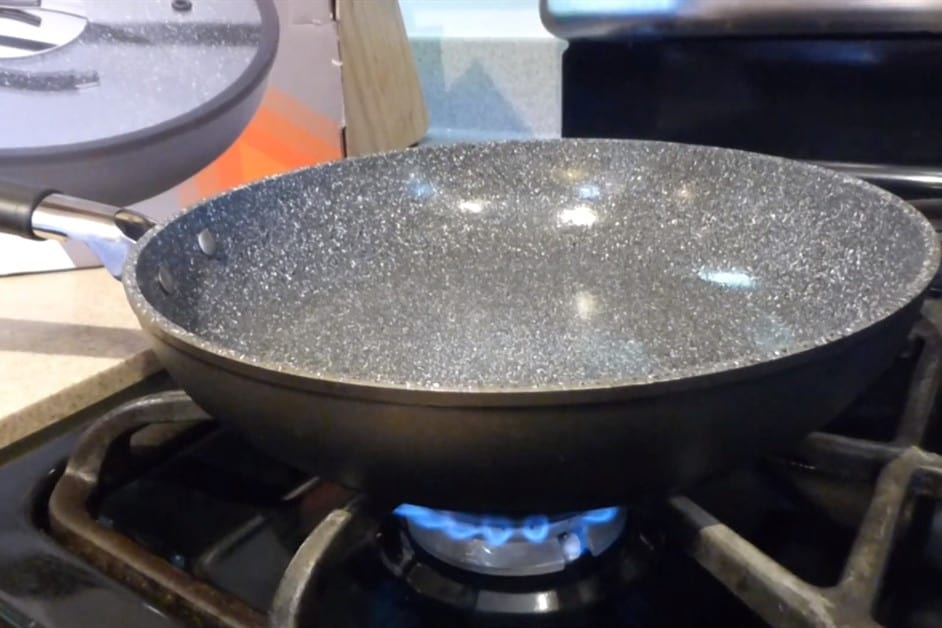
Heating using the stovetop
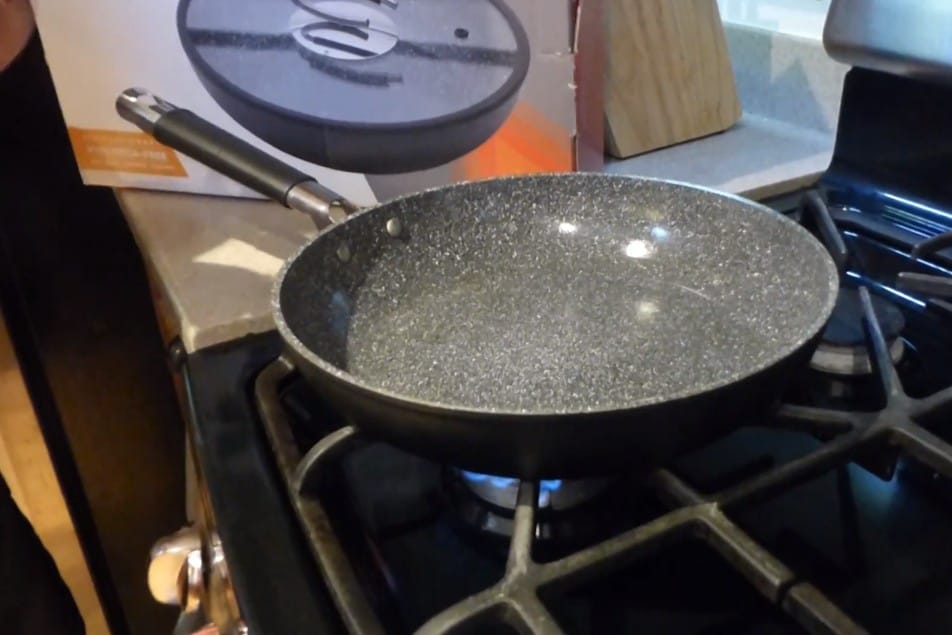
- Grease a ceramic frying pan and place it on the stove. Turn on the stove and allow the pan to warm up to a medium temperature. When the temperature is set to medium, the oil in the pan heats up slowly.
- It’s critical to keep the ceramic pot or pan heated until it begins to smoke, which can take a few minutes.
- As soon as the stove begins to smoke, remove it from the pan and lay it on a flat surface. Be patient, as it will take about 10-15 minutes to get down to room temperature.
Heating under the sun
- Open a brown shopping bag, then place the ceramic pot or pan inside, filling it about halfway.
- The ceramic pan’s handle can be positioned inside or outside the paper bag. Because of the bag, direct sunlight cannot reach the pan.
- After putting the pan or pot in a paper bag, place it in a location that receives a lot of sunlight. For the bag to thoroughly oxidize, it needs to be exposed to direct sunshine for 3 to 5 days. Touch the paper bag every now and then to see if it’s getting hotter.
- The pan and the sack should be kept in direct sunlight. Unwrap the paper bag and take the pan out of the container.
Step 4: Allow it to rest
Wait for the oil to smoke before removing it from the heat. Set it aside to cool. Make sure that the pan is at room temperature before you begin. Avoid cold water or put it in the fridge to lower the temperature quickly. The abrupt temperature change can seriously damage your pan.
Unless the pan’s surface is particularly oily, wait until most of the oil has been absorbed before using it. Waiting longer for the oil to fill in the discrepancies in the pan’s surface is usually the best method. If you follow this fundamental suggestion, you will obtain the best results.
Step 5: Allow your pans to dry
When the pan is already at room temperature, use a paper towel to wipe any excess oil from the surface. Nonstick pans appear a little greasy than regular pans, which makes them easier to clean. You don’t have to scrub or wash it away to remove the oiliness.
Step 6: Repeat the seasoning process after several months
Seasoning should be done every several months. However, you must consider the type of pan you have and the frequency of usage when seasoning. Seasoning your new ceramic cookware once or twice a month is recommended. For the first few months of use, ensure that a long-lasting coating of seasoning is formed in a short period.
No-Oven Seasoning Techniques
Try this cooktop method instead if you’re unsure if your cookware is oven-safe.
You only need soap and water, cooking oil, a paper towel or soft cloth, and the ceramic pot or skillet you wish to season.
- To begin, you have to thoroughly clean the pan. Simply wash it with soap and water, then air-dry completely.
- After cleaning, grease the pan with oil using a paper towel or your fingers. Do not use butter or olive oil because they burn fast.
- Place your pan on the burner and heat it to medium-high. Before removing it, wait until it begins to smoke. Make sure your stovetop surface is even so that the oil will not pool in one spot. Wait for it to smoke, then remove it from the heat.
- Allow the pan to warm up before using it for the following batch. When the temperature has returned to room temperature, use a paper towel to wipe any leftover oil from the surface. Don’t wash it again after you’ve finished cooking.
What to do to make seasoned pans last longer
A well-maintained ceramic set can provide the best benefit. You can cook less oil and clean the pan faster if you keep the nonstick coating intact. Seasoning ceramic cookware isn’t difficult, but you can take a few basic things to help the nonstick coating last longer.
Clean your pans thoroughly
The first step in reducing the need to reseason your cookware is to clean them carefully. To remove sticky food residue, you can mix baking soda with hot water. Using the proper cleaning approach can help preserve your nonstick coating.
Refrain from using metal utensils
Because of their sharp edges, metal utensils may ruin your pan’s nonstick properties. They cause a rapid deterioration of the pan’s nonstick properties. Use only safe utensils such as silicon, plastic, and wood.
Using these materials will protect your cookware from scratches. If the ceramic finish of your pan is scratched, the nonstick properties will be gone. As a result, look for tools that will help you extend the life of your cookware.
Make sure the temperature is kept at a moderate level
When cooking with seasoned ceramic pots or pans, use a low to medium heat setting. At higher temperatures, the pan’s nonstick characteristics break down faster, increasing the risk of stains and damage.
The base of aluminum or hard-anodized metal and the ceramic material itself assist in the equal distribution of heat. Higher temperatures aren’t necessary to cook your meal fast and evenly.
Don’t spray cooking oil on the pan
Although it is convenient to use cooking oil sprays from aerosol cans, you should not use them when cooking with ceramic cookware, even if they are olive or coconut oil-based. These cooking sprays are likely to contain components and compounds that lead to creating a sticky residue on the surface of the pan. These sprays will take a long time to disperse and smoke.
Avoid using the dishwasher to clean your ceramic pots or pans
Even though the label says dishwasher safe, you should hand-wash your ceramic dishes. Dishwashing detergents typically include strong chemicals that can harm your pan. If washed in a dishwasher, the surface will be permanently ruined.
The hot water spray from a dishwasher can also destroy the nonstick coating from the pan. By rubbing up against other pans or even the dishwasher, your pan may be scratched or chipped. Simply wash the pans with mild dish soap and a soft sponge or clean cloth, then thoroughly dry them. Keep the surface clean and dry to extend its life.
Safely store your pan
When it comes to storage, pots and pans should never be placed on top of or inside each other. Your panhandles can also be used to hang them. They can be used to improve the appearance of your kitchen by creating a focal point.
Conclusion
Seasoning your ceramic pots and pans can help extend their life. It’s so simple that you only need common household items to accomplish it. The methods for seasoning pots and caring for them are described above.
Always make sure to clean the pots fully after using them, since this is an important aspect of preserving their quality. I hope these posts help you season your ceramic pots and thereby increase the life of your cookware.

Michael Johnson is the founder of Pan Mastery, Inspired by his blacksmith grandfather’s legacy has a deep appreciation for hand-crafted pots and pans, he provides invaluable guides, reviews, and recipes to enhance your culinary journey.