
If you’re trying to build your kitchen arsenal, you might not know that there are dozens and dozens of pans out there. Now, you might have found this fact both delightful and taxing.
However, acquiring pans could be fun, but learning the way to handle and care for each one is not the same, after all. Well, don’t worry! You don’t have to get to know them all at once. Take it one step at a time. Today, let’s get to know the braising pan!
What is Braising?
Before we talk about braising pans, let’s briefly talk about what braising is.
Braising is a 2-step cooking method that includes two very different processes – searing and simmering. As you might already know, one uses a high temperature, while the other uses a low temperature. Additionally, one would require you to move fast, while the other asks you to wait.
Knowing how to braise is good. After all, it is the best way to make some dishes. However, it’s not a method that will work for all recipes.
For now, since we already have an idea of what braising is, let’s discuss what a braising pan is.
What is a Braising Pan?
A braising pan is also sometimes called a braiser.
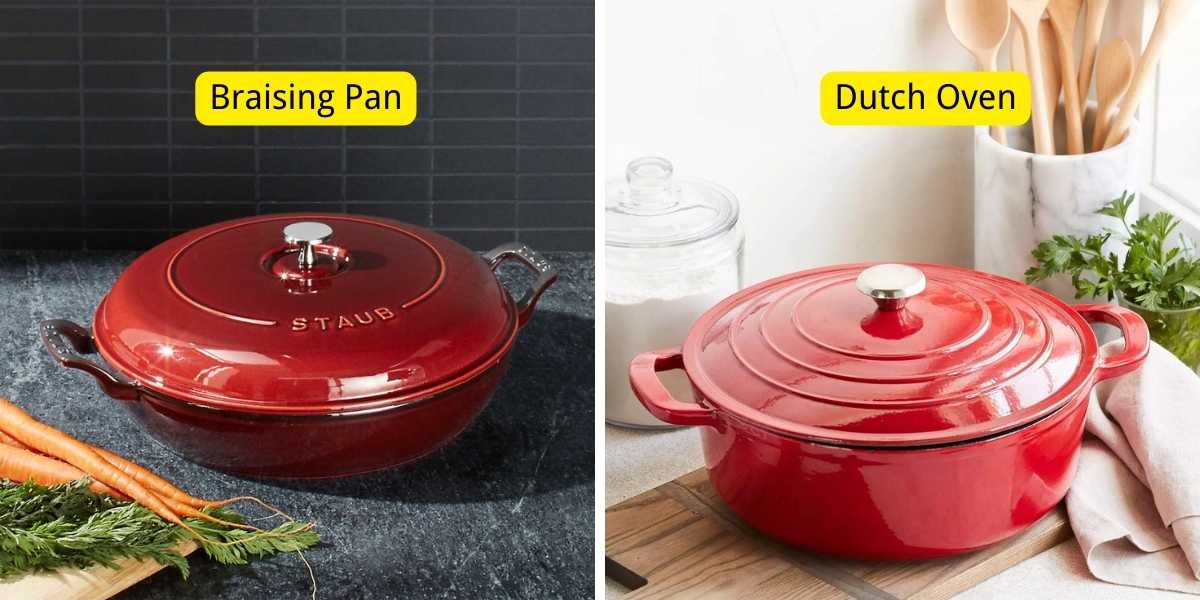
It is often mixed up or compared with the dutch oven. We’ll be discussing dutch ovens some other time. For now, what might be important to point out is that both are great cookware. However, they are different and do not substitute for each other.
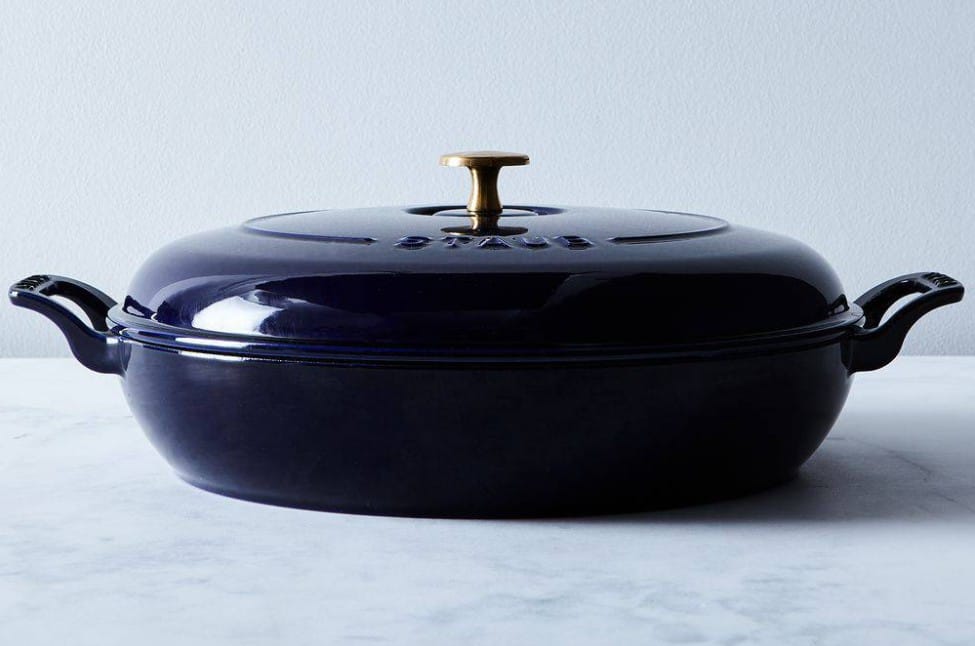
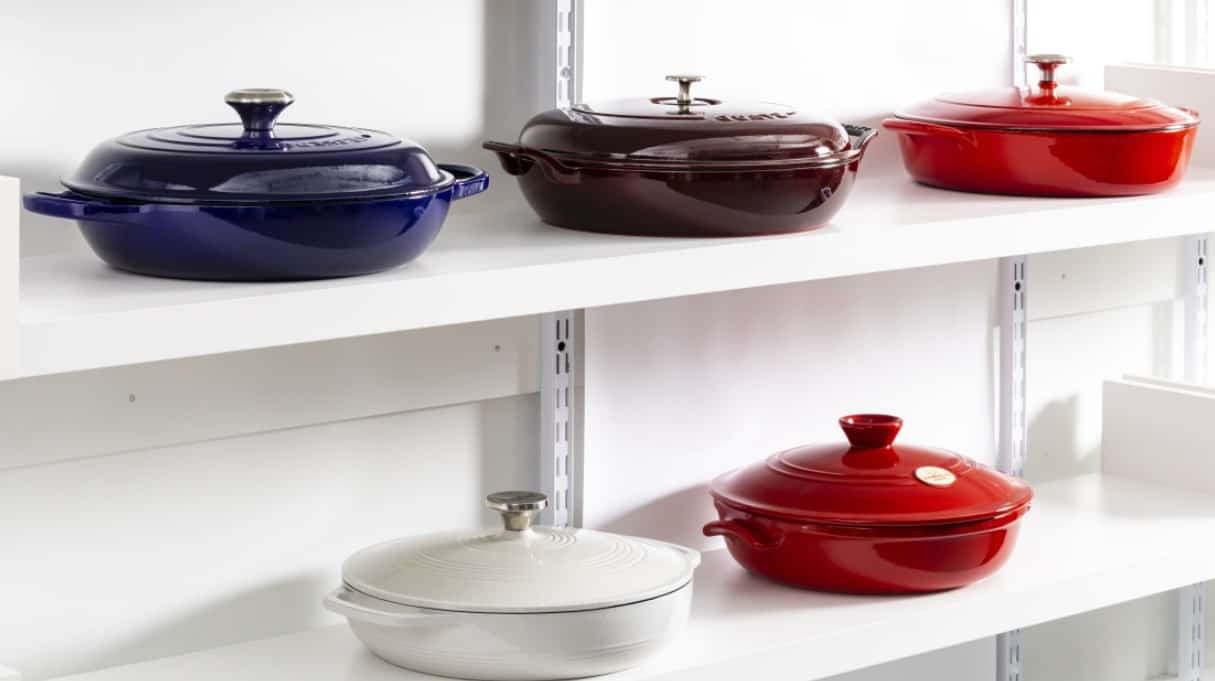
A braising pan is cookware made for, you guessed it, braising. You can expect it to have some weight as it is supposed to be large and solid. Also, you could say it is flexible as it can take on the high heat you need for searing. With that, you can use it on the stove and the oven. That said, you can also expect it to have two handles that are also oven-safe. Additionally, it also has a lid, which is good for the simmering process.
By now, you could probably see the resemblance of the braising pan with the dutch oven. Not quite, but you could say it looks like a short dutch oven. If you’ve ever seen an odd-looking dutch oven before, it was probably a braising pan you saw.
The Commercial Braising Pan
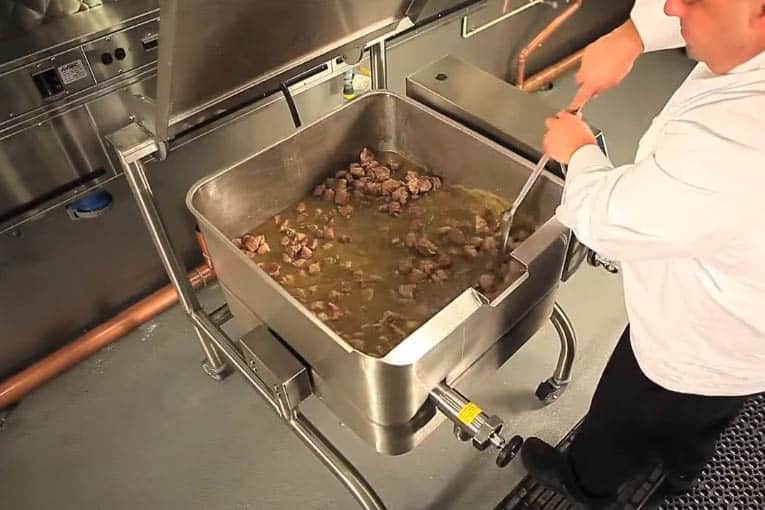
Before we go and talk about how to use the braising pan we just discussed, let’s quickly talk about the commercial braising pan. If you’ve tried to look up some braising pans to buy before, you might have seen a few odd-looking machines in your search.
A commercial braising pan looks almost nothing like the one we just discussed. It’s big. Really big! Also, it looks like a machine (as it is one) more than a pan.
It can do what the pan above can and so much more. However, it might be a good idea to emphasize that it is for commercial use. If you have the budget and the room to home it, you could, but unless you’re housing a really big family, we don’t think you’d ever need this one at home.
How to Braise Using a Braising Pan?
Okay, so now you know what braising is. You also got to know what a braising pan for home use and commercial use is. Now, let’s talk about how you can braise using a braising pan.
Step 1: Preparations
Prepare your braising pan and your ingredients as well. Preheat your pan and add some oil. Once the oil is hot, you can put your meat.
Now, you should hear that sizzle. If it doesn’t come immediately, give your pan a little more time to reach the ideal temperature. Quickly remove the meat and give your oil and pan some more time.
Step 2: Searing
Once you hear that beautiful sizzle, you can start searing. The goal in this step is to achieve an even brown color on all sides of the meat.
Step 3: Setting Aside the Meat
Once all sides of your meat are done, you might want to set it aside to give the stage to the other ingredients.
Step 4: The Veggies and Deglazing
Now, depending on what recipe you’re making, big changes start from here. Many recipes might use the same meat, but they don’t all use the same set of vegetables and seasoning, for example.
At this point, the addition of vegetables is recommended, with the aim of achieving a pleasant brown color.
When deglazing, there are several things you can use, wine being one of the most popular choices. Water could work too. However, depending on the recipe, you might have to use other things.
Step 5: Simmering
Next, return the main ingredient to your pan, and add more liquid until it’s halfway up your meat. Bring the liquid to a boil, then reduce the heat to a simmer and cover the pan. Don’t forget that the temperature should be low by now!
By now, you can choose to continue the method on the stove or take it to the oven. Follow the recipe or take your pick.
Step 6: The Waiting
Regular monitoring of the dish is advised to ensure the liquid level remains consistent during the final cooking stage.
Now, you might ask how long you have to wait. Unfortunately, that’s a tough question. It really depends on several factors like the cut, type, and size of meat you’re dealing with. It could take anywhere from around an hour or three. You can use a fork or something similar to check if the star is ready.
Other Things to Keep in Mind
You now know what a braising pan is. Additionally, we also showed you how to use it. Before you go, we’d like to tell you some other tips and tricks you could use in your next great meal.
Dishes to Try Out
As promised earlier, here are some recipes you might want to try and recreate with your newfound braising skills.
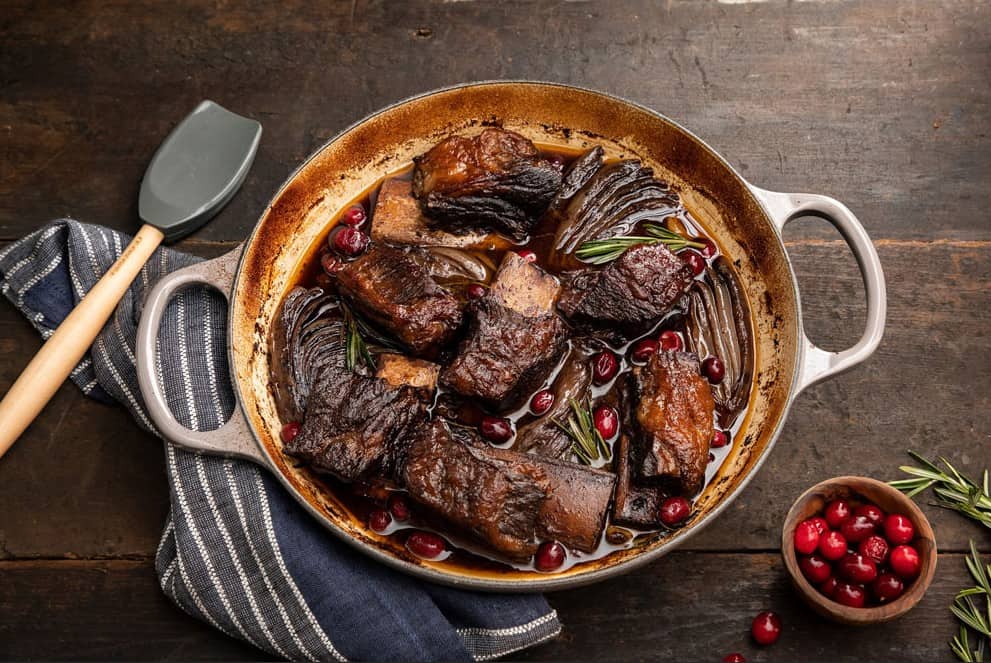
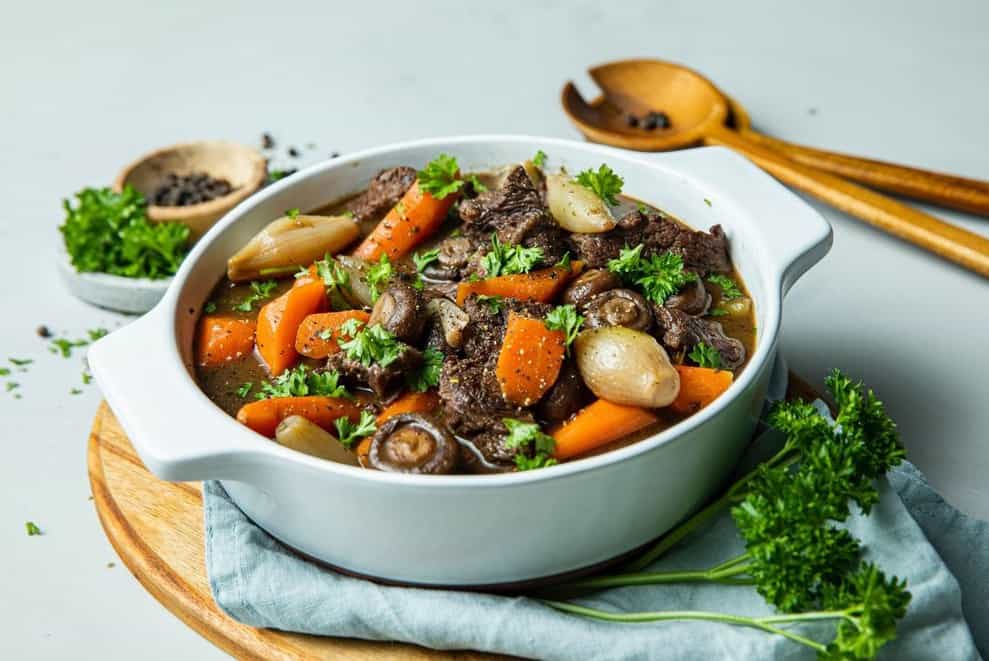
- Wine Braised Beef with Mushrooms – I don’t know about you, but this recipe from The Modern Proper looks delicious!
- Braised Chicken – Don’t feel like eating some beef? Maybe we can interest you with some braised chicken then?
- Braised Pork Belly – Not in the mood for some chicken too? Maybe this recipe would do the trick then!
Choose Your Fat
You can use your trusty canola oil for almost any cooking technique and cookware. However, some seemed to have forgotten that it is not the only option available. Also, it isn’t only the ingredients you can change up in a recipe.
Sometimes, choosing the right fat could also do wonders for the dish! Not only that, if you’re looking to cook healthier, you might also want to consider the fat you choose. Canola oil is not the worst fat on the list, but there are tons of other options we believe you’d enjoy trying.
Learn Other Techniques
Braising is only one of the many cooking techniques out there. Also, as you’ve seen, some methods are a combination of other processes. With that, you might want to give other cooking techniques a try. Not only would you be enhancing your skill set in the kitchen, but you would also be opening lots of new doors to delicious recipes by doing so!
Summary
Did we help you get acquainted with the braising pan? If we did, we invite you to look over our other discussions. We might be able to help you with your other cooking or cookware concerns. If it’s about cooking, you can bet we’d very much like to be of service!

Michael Johnson is the founder of Pan Mastery, Inspired by his blacksmith grandfather’s legacy has a deep appreciation for hand-crafted pots and pans, he provides invaluable guides, reviews, and recipes to enhance your culinary journey.