It’s no secret that non-stick pans are becoming more and more popular these past two decades. Non-stick pans are convenient and very easy to use. They are perfect for pancakes, eggs, and steak. Although it still has flaws.
Non-stick pans have a coating that is prone to scratches. It can flake off as you cook your favorite meals. You don’t need to worry! In this article, we will tell you all about how to fix a scratched non-stick pan.
What is a Non-Stick Pan?
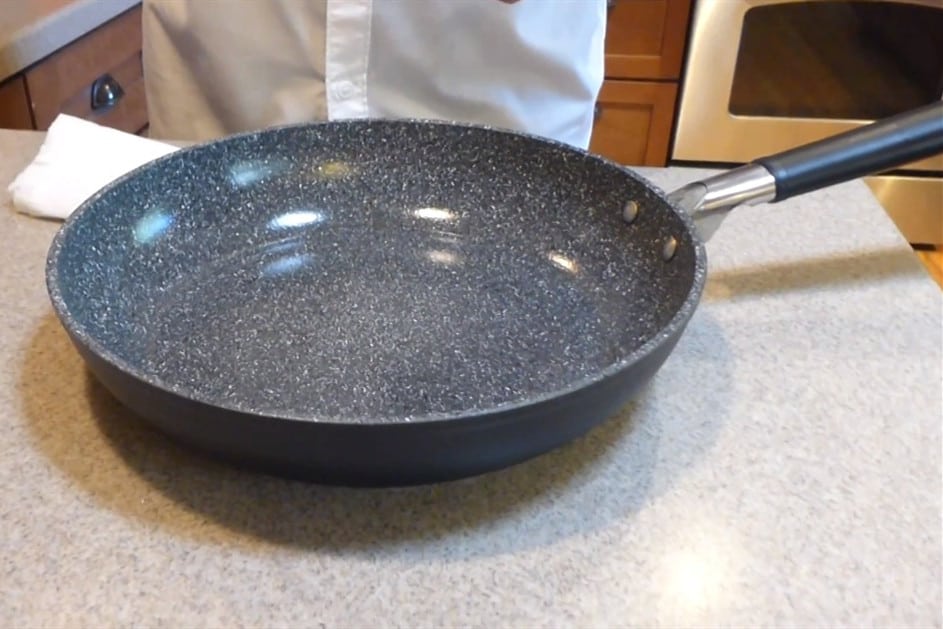
Non-stick pan is a type of cookware coated with ceramic or Teflon to ensure a non-stick finish. Non-stick cast iron pans also exist.
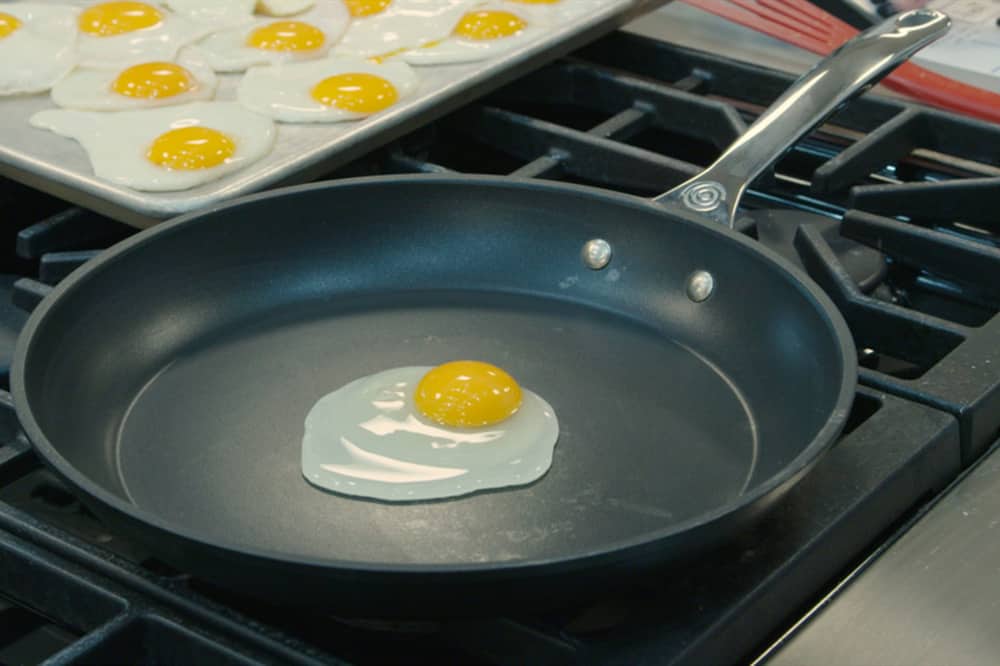
The non-stick nature of the pan is utilized for foods like eggs, pancakes, crepes, and sausages as it provides an easy clean-up.
Non-stick pan is becoming a staple as it provides convenience. It lets the food brown and crisp without sticking into the pan. The lack of sticking also results in a much easier cleaning process. [How to Tell If a Pan is Non-stick?]
4 Steps to Fix Scratched Teflon Non-Stick Pans
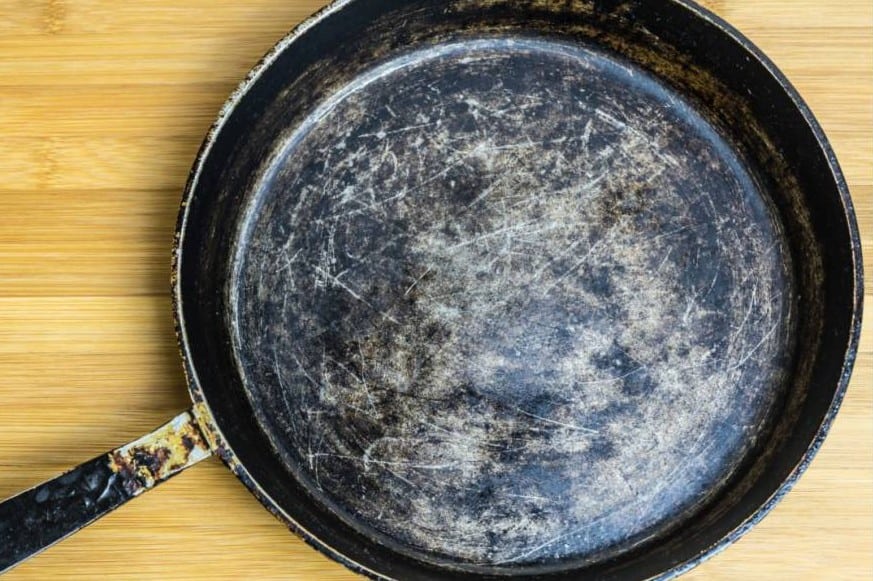
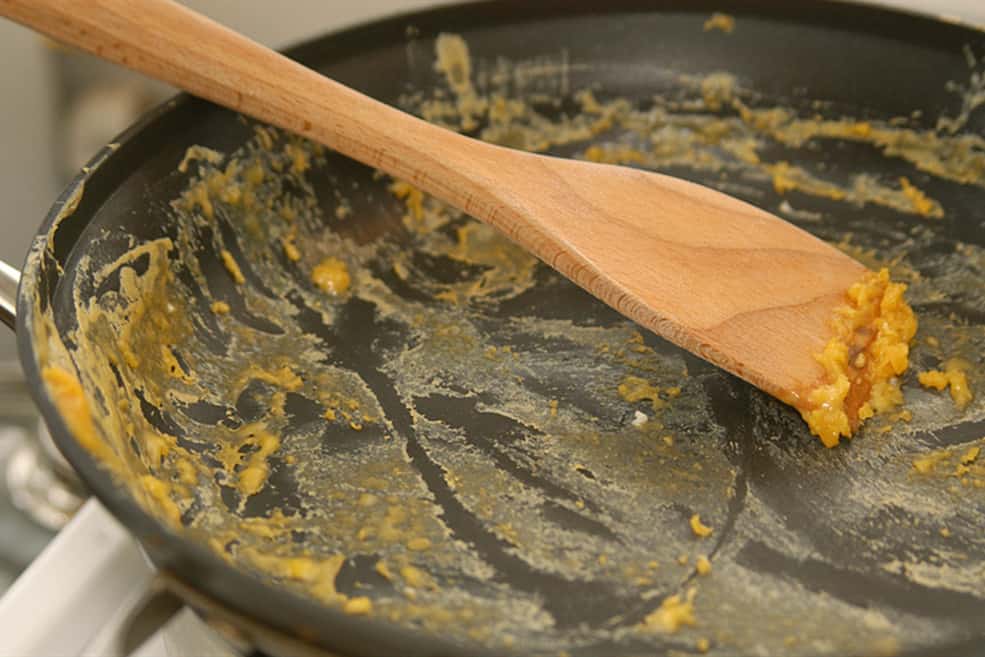
A scratched coating is every non-stick pan owner’s problem. As your usage of the pan continues, the scratches will increase.
Fret not as we will show you how to fix your non-stick pans with these four easy steps.
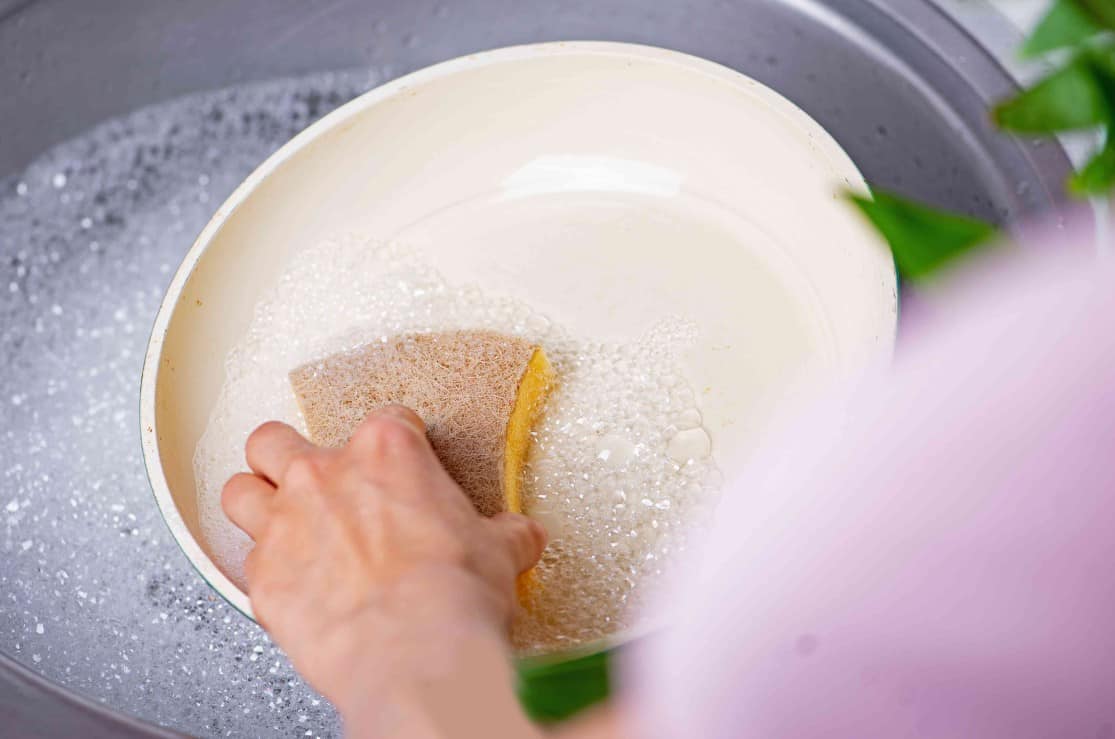
Step 1. Thoroughly Clean Your Pan
Clean the pan with any non-abrasive tool such as a sponge. Use a dishwashing liquid to ensure that no oil and food is left.
You can also use warm water when cleaning your pan to ensure that fewer germs are left. It can also make the removal of leftover food easier.
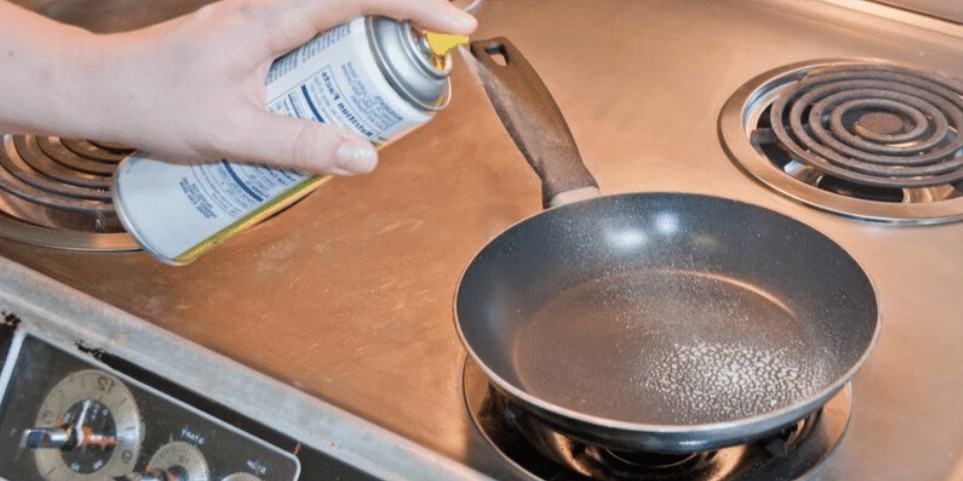
Step 2. Use a Dry-Film Lubricant Spray
A non-stick dry film lubricant spray or cookware spray is a protective lubricant seal used with kitchenware. Non-stick lubricants are used to repel abrasive tools such as forks and spatulas. They also protect the non-stick finish of your pans.
Cookware sprays like this one also come with teflon to ensure that your pan will have a brand new coat.
For greater effectiveness, put a good amount of the seal a foot away from your pan. Make sure to coat your non-stick pan evenly. Leave the pan to rest for 10 minutes before the next step
Step 3. Heat the Pan
After spraying, the next step is to bake the pan in the oven. Preheat the oven to 450-500 degrees before putting it in your non-stick pan.
Once the oven is hot enough, put your pan inside for about 30 minutes to an hour. After heating your pan, leave it in the oven for about an hour before taking it out.
The heat will help the lubricant spray to seep further into the pan. Your non-stick surface is sure to return to its original state.
Step 4. Wash the Pan
And lastly, you should again wash your pan. Use lukewarm water and dishwashing soap to remove the excess cookware spray.
That’s it! You can now restore your non-stick pan. If food continues to stick into the pan, repeat this process until it’s completely fixed.
5 Steps to Fix Scratched Ceramic Non-Stick Pan
A Ceramic non-stick pan is a pan sealed with silicone coating and sand. The ceramic finish helps with the easy clean-up and removal of any leftover food when cooking.
Although you can keep a ceramic pan for 3-5 years without scratching, a lack of maintenance can cause your cookware to deteriorate.
In this guide, we will provide step-by-step instructions for you to follow. By the end, you can use your ceramic non-stick pan again.
Step 1. Clean the Pan
Before restoring the non-stick coat of your pan, you need to clean it first. Use warm water and dishwashing soap to remove any grime and oil. If your pan is clean enough, you don’t have to use a sponge.
Step 2. Spray with Cookware Spray
Cookware spray is a great way to restore the glossy finish of your pan. Like teflon pans, dry-film lubricant sprays can also help your ceramic pan keep a non-stick and shiny finish.
Step 3. Bake the Pan
Like with the teflon pan, you need to heat the ceramic pan to seal the coating into the pan. Preheat the oven to 500 degrees before putting it in your pan for 30 minutes to an hour. Once the oven timer is over, leave the pan inside for an hour or two. Remove the pan and let it cool down to room temperature before going to the next step.
Step 4. Remove the excess Spray
After letting your pan cool down, wash it with warm water and dishwashing soap. Cleaning your pan again will ensure that no excess cookware spray is left.
Step 5. Restore the Pan
After cleaning your pan, the next thing you should do is restore it. Restoring your pan should be done regularly, at least once a month. Restoring your pan is done to ensure that the non-stick finish will be maintained.
To do this, put on a small amount of flaxseed oil on top of your pan and spread it with a paper towel. Make sure that you coat the whole pan. After that, heat the oven again to 350 degrees and leave the pan there for 15-20 minutes.
Once your pan is out of the oven, let it cool down before wiping off the excess oil.
Risks of Using a Scratched Non-Stick Pan

Scratched ceramic pans don’t pose any health-risk issues with regard to using it. Teflon non-stick pans, on the other hand, face a slew of issues.
Teflon non-stick pans have been facing controversy in the past few years. Research after research warned people about the toxicity of polytetrafluoroethylene commonly known as Teflon. This chemical is found in most non-stick pans. The synthetic fluoropolymer chemical can lead to various illnesses such as cancer and Parkinson’s disease.
Unfortunately, if you are using a scratched non-stick pan, there is a massive chance that you might have ingested the teflon coating through your food. Professionally recommended to throw away the scratched-up non-stick Teflon pans or restore them.
Watch this video to know more about non stick pans.
How to Properly Maintain a Non-Stick Pan
Now that we know how to fix scratched non-stick pans, let’s talk about how to properly maintain them. As the saying goes, prevention is better than cure.
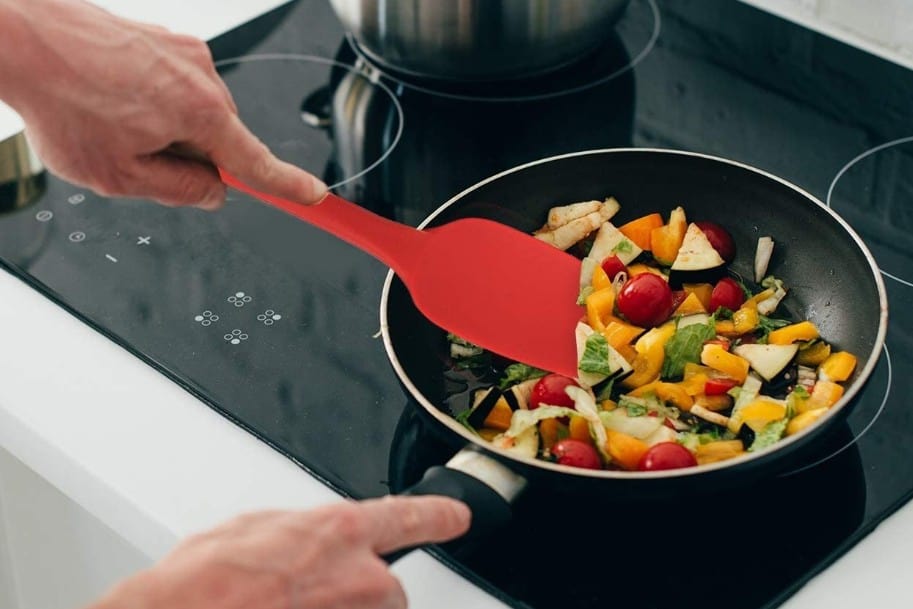
Don’t Use Metal Utensils
Using the proper utensils is the key to having long-lasting kitchenware. This principle also applies to non-stick pans.
Don’t use metal utensils such as metal spatulas and forks when cooking in a non-stick pan. The abrasive nature of these tools will lead to the scratching of the coating in your pan.
Instead, use wood or bamboo-based utensils. These tools will ensure that you can have your pans for a much longer time.
Properly Wash your Pans
When washing your non-stick pans, make sure to not use any harsh cleaning scrub. Instead, opt for a soft sponge. If your pan doesn’t have that much dirt, you can hand wash it and avoid the usage of sponges. Using warm water can also help to remove the dirt and oil easier.
Dry and Store Your Pans Properly
After washing your non-stick pan, you should dry it with a paper towel or an absorbent fabric. Storing it in a dry and clean place is crucial for prolonging your non-stick pan.
Hanging your pans in a cookware drying rack is the best method to dry and store them. Unfortunately, not all of us have the capacity to do this.
If you are going to store your pan in a cabinet or cupboard, make sure that you can retrieve it without scratching the pan. Avoid hard corners and place them on top of another pan.
Don’t Change Temperatures Rapidly
If your pan is still hot, subjecting it to a colder temperature can lead to the warping of the pan. You should let the pan cool off to room temperature before putting it in a colder or hotter temperature.
Avoid Cooking Acidic Food
Acidity and non-stick pans don’t go well together. They cause flaking and erosion of the coating. The acid will make the coat weaker. Once the coat is eroded, it flakes off and gets into your food.
Foods such as spaghetti or anything with vinegar or citrus are best in pots.
Don’t use Cooking Oil Spray
Hold down your cooking sprays. As much as cooking sprays and non-stick pans may seem to go together, it can’t be farther from the truth. Some of you might think that non-stick pans need a smaller amount of oil for cooking. While this is true, it’s important to note that not all oil sprays are suitable for use with non-stick pans.
If you first think of it, the idea makes sense. By using cooking oil sprays, you can have an even coating and less oil in the pan.
Unfortunately, cooking sprays are not recommended to be used in a non-stick pan. The aerosol in the oil can stick into the coating and cause flaking. Use natural oils such as vegetables or olive oil instead.
Conclusion
There are processes to ensure that you can maintain and fix your kitchenware. With a bit of washing, cookware spray, and oil, you can restore your non-stick pan in no time.
We hope this step-by-step guide on how to fix scratches from your non-stick pan helped you.

Michael Johnson is the founder of Pan Mastery, Inspired by his blacksmith grandfather’s legacy has a deep appreciation for hand-crafted pots and pans, he provides invaluable guides, reviews, and recipes to enhance your culinary journey.